Creating and configuring a virtual machine, deploying n8n, and building AI assistants
A detailed step-by-step guide to creating and deploying an n8n instance on a Yandex Cloud virtual machine and connecting it to your own domain. It also covers the full setup process for AI assistants. This guide will help you deploy the n8n service on your own server and run it under your own domain. The project is fully functional.
Creating and configuring a virtual machine, deploying n8n, and building AI assistants
A detailed step-by-step guide to creating and deploying an n8n instance on a Yandex Cloud virtual machine and connecting it to your own domain. Detailed steps for configuring AI assistants. This guide will help you deploy the n8n service on your own server and run it under your own domain. The project is fully functional.
Error tests and fixes performed
- bad webhook: Webhook can be set up only on ports 80, 88, 443 or 8443 (fix)
- An HTTPS URL must be provided for webhook (fix)
- Workflow could not be activated (fix)
- Lost connection to the server (fix)
- 502 Bad Gateway (Nginx upstream) (fix)
- 401 Unauthorized when accessing /rest/push?pushRef= (fix)
- n8n warning: Mismatching encryption keys (fix)
- ERR_UNEXPECTED_X_FORWARDED_FOR from Express rate-limit (fix)
- Connection reset by peer in the Nginx log (fix)
- Connection refused when running curl http://127.0.0.1:5678 (fix)
Latest project changes updated on 17.04.2025
- Created and configured a virtual machine Ubuntu 20.04 LTS
- Installed Docker / docker-compose
- Deployed n8n 1.88.0 in a container
- Connected SSL DomainSSL from REG.RU
- Restored proper proxy operation through Nginx HTTPS → :5678
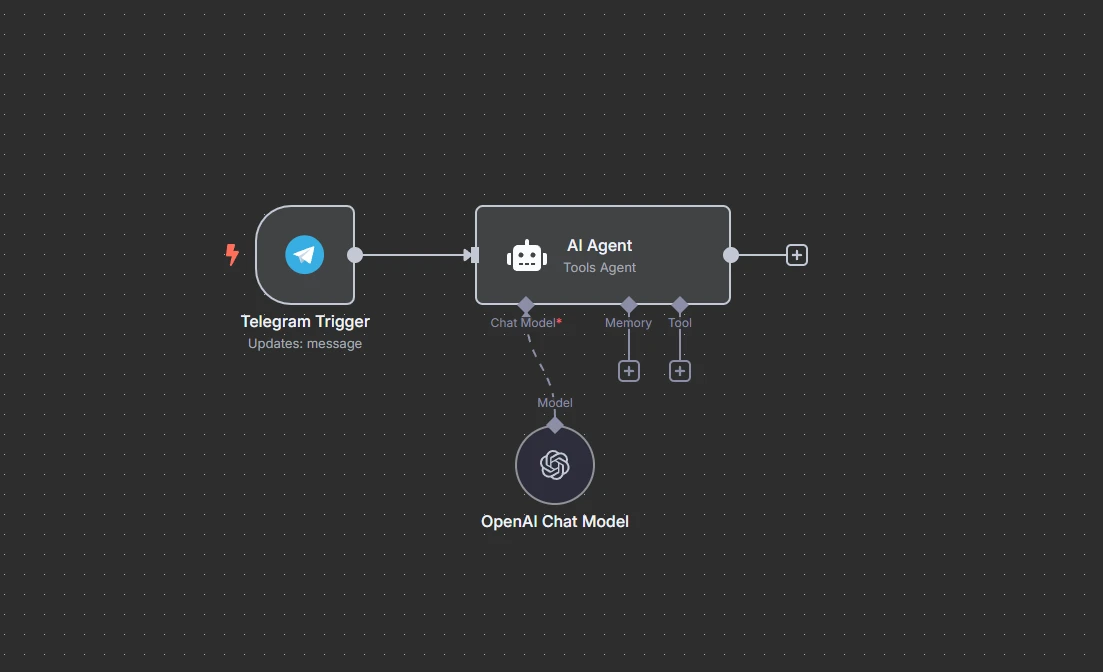
- Configured the Telegram Trigger API token to work via webhook
- Checked CI / automated deployment for errors
Main project changes updated on 17.04.2025
1. Changes were made to the following files
- n8n docker-compose.yml, where the connection to the Telegram Trigger token was being interrupted
- removed a duplicate proxy
- Nginx/proxy mydomain, where several configuration lines were missing, causing the “Lost connection to the server” error
2. History of fixing the critical Telegram Trigger error
“Workflow could not be activated / bad webhook / Lost connection to the server / 502 Bad Gateway”
3. Diagnostics
- checked DNS A records and the 443 → :5678 proxy mapping
curl -I http://127.0.0.1:5678— the container responds with 200 OKtail -f /var/log/nginx/error.log—Connection reset by peer→ issue between Nginx and n8ncurl -s https://api.telegram.org/bot<token>/getWebhookInfo— empty URL
4. Fixes
The following environment variables were added to docker-compose.yml:
environment:
  N8N_COOKIE_DOMAIN=.YourDomain.ru
  N8N_ENCRYPTION_KEY=<32-character base64>
  WEBHOOK_URL=https://YourDomain.ru/
In the Nginx configuration:
proxy_buffering off;         # otherwise SSE breaks
proxy_read_timeout  3600;
proxy_send_timeout  3600;
proxy_set_header X-Forwarded-Proto $scheme;
Old Telegram webhooks were cleared:
curl -s "https://api.telegram.org/bot<token>/deleteWebhook"
Full restart:
docker-compose down && docker-compose up -d
5. Result
getWebhookInfo returns a URL in the following format: https://YourDomain.ru/webhook/<uuid>/webhook.
In n8n → Test step → /start is successfully received.
17.04 05:40  ✚ N8N_COOKIE_DOMAIN
17.04 05:42  ✚ N8N_ENCRYPTION_KEY
17.04 05:45  ✚ WEBHOOK_URL=https://YourDomain.ru/
17.04 05:47  ✚ Nginx proxy_* timeouts
17.04 05:50  − Bad TLSv1 ciphers
17.04 05:55  ♻ docker-compose up -d
17.04 05:57  ✅ Telegram Trigger responded with 200 OK
Functionality updated on 16.04.2025
- Creation, configuration, and deployment via SSH
- Creation of a virtual machine in Yandex Cloud
- Installation and configuration of Docker
- Deployment of n8n
- Connecting your own domain to the n8n instance
- Process automation
- SSL setup and Nginx configuration
Technologies updated on 17.04.2025
- Ubuntu 20.04 LTS Yandex Cloud, vCPU 2, RAM 2GB, SSD 50GB
- Git Bash for Windows
- Docker
- n8n
- YourDomain.ru
- SSL Domain
- Bash deploy file
- nginx file
- JSON logs jq
Creation
- Before creating the VM, you need to generate an SSH key. Run the command in the Git Bash terminal.
Choose the folder where the key should be created:
cd "/d/your relative path"
Then create the key:
ssh-keygen -t rsa -b 4096 -C "your_email@example.com"
rsa is the key type.
- Create a VM in Yandex Cloud. OS choice: Ubuntu 20.04 LTS, selected for its stability and extensive documentation.
Before creating the VM, copy the public part of the SSH key from your local folder into the VM settings.
- Create
docker-compose.ymlwith the required configuration included in the project.
If you are using a test connection, specify:
N8N_PROTOCOL=http
WEBHOOK_TUNNEL_URL=http://<PUBLIC_IP>
N8N_SECURE_COOKIE=false
The initial configuration values are available in the n8n-raw.env file.
Installation updated on 17.04.2025
- Full command for logging into the VM from the terminal:
ssh -i "D:\Path\to\key\id_rsa" your_login@your_vm_ip
id_rsa is the name of the private SSH key. Every time you disconnect from the VM, you need to log in again.
- Update package lists and install updates:
sudo apt update
sudo apt upgrade
- Install Docker:
sudo apt install docker.io docker-compose -y
- Start Docker:
sudo systemctl start docker
sudo systemctl enable docker
- Copy
docker-compose.ymlto the VM:
scp -i id_rsa docker-compose.yml YourLogin@Your_VM_IP:~/
- Add the user to the docker group:
sudo usermod -aG docker $USER
- A 🔑 encryption key is required for
docker-compose.yml.
If you do not have a key, generate one:
openssl rand -base64 24
Copy 32 characters and paste them into the line:
N8N_ENCRYPTION_KEY=generated_32-character_key_without_spaces
If you get a 502 error, the key already exists. Retrieve the old one:
docker run --rm -it -v ~/.n8n:/data alpine cat /data/config | grep encryptionKey
The output will look like this: "encryptionKey":"lT4YpXOOqUV7xg5L1j6TUxaXnNsmYsP"
- Check Docker and start the container:
docker ps
docker-compose up -d
- Install Nginx:
sudo apt update
sudo apt install nginx -y
Configuration
- Check the owner of the
~/.n8ndirectory:
ls -la ~/.n8n
- Change the owner and permissions UID/GID = 1000:1000, which is the node user inside the container:
sudo chown -R 1000:1000 ~/.n8n
sudo chmod -R 770 ~/.n8n
- Restart the container:
docker-compose down
docker-compose up -d
- View n8n logs:
docker-compose logs -f
WARNING! There are two options for connecting to the n8n instance: either disable secure connection or buy your own domain and configure SSL. Secure connection can be disabled in the
docker-compose.ymlfile. The initial values are available inn8n-raw.env.
Automation
- Create a
deploy.shfile:
cd "/d/path/to/file" || { echo "Failed to change directory"; exit 1; }

# Put any commands here

echo "Deployment completed successfully."
- Make the file executable:
chmod +x deploy.sh
- Run the script:
./deploy.sh
# or
bash deploy.sh
Connecting and configuring your own domain for n8n updated on 17.04.2025
When purchasing a .ru domain on REG.RU, a free DomainSSL certificate was provided for 6 months. Let's Encrypt setup was not required.
Replace YourDomain.ru with your real domain.
- Configure the A record in the DNS section of your domain:
- Name/host:
@ - Type:
A - Value: your public IP, for example
51.250.31.91
For www, add a CNAME record pointing to @.
- Download the certificates from the SSL section:
certificate.crt— main certificate 1 key blockcertificate_ca.crt— intermediate + root certificate 2 key blockscertificate.key— private key
-
Combine the certificates: copy the block from
certificate.crtto the beginning ofcertificate_ca.crt, then rename the result tofullchain.crt. -
Go to the folder with the certificates and check the files:
cd "/d/0. Job, Learn, Chill etc/Clouds/Yandex Cloud/"
ls -i
- Copy
fullchain.crtandcertificate.keyto the VM:
scp -i "/d/.../SSH/id_rsa" certificate_ca.crt YourVMLogin@Your_VM_IP:~/
- Log in to the VM and create a folder for the certificates:
sudo mkdir -p /etc/ssl/FolderName/
ls -l ~/
- Copy the certificates to the created folder:
sudo cp fullchain.crt /etc/ssl/FolderName/
sudo cp certificate.key /etc/ssl/FolderName/
ls -l /etc/ssl/YourDomain/
- Download the
mydomainfile from the project, rename it toYourDomain.ru, and make the required changes:
server_name YourDomain.ru www.YourDomain.ru;
ssl_certificate /etc/ssl/YourDomain.ru/certificate.crt;
ssl_certificate_key /etc/ssl/YourDomain.ru/certificate.key;
ssl_trusted_certificate /etc/ssl/YourDomain.ru/certificate_ca.crt;
- Enable the site and check the Nginx configuration:
sudo ln -s /etc/nginx/sites-available/YourDomain.ru /etc/nginx/sites-enabled/
sudo nginx -t
sudo systemctl reload nginx
Configuring n8n environment variables
N8N_HOST=YourDomain.ru
N8N_PROTOCOL=https
WEBHOOK_TUNNEL_URL=https://YourDomain.ru
Troubleshooting
Install jq for convenient work with JSON logs:
sudo apt update && sudo apt install -y jq
Checking Nginx:
tail -f /var/log/nginx/error.log
tail -f /var/log/nginx/access.log | grep /rest/push
sudo nginx -t
sudo systemctl reload nginx
Checking n8n:
docker-compose logs -f n8n
docker-compose logs --tail=100 n8n
docker compose logs --tail=50 -f n8n
docker-compose logs -f n8n | grep -i webhook
Checking the container:
docker-compose ps
docker ps --format "table {{.Names}}\t{{.Status}}\t{{.Ports}}"
curl -I http://127.0.0.1:5678
Checking Telegram Trigger:
curl -s "https://api.telegram.org/botAPI_TOKEN/getWebhookInfo" | jq
If there is no encryption key:
openssl rand -hex 32
Add the value to docker-compose.yml.
Checking cookies if there is an API connection error:
Open F12 → Application → Cookies → find n8n-auth, then copy the Value.
curl -I -b "n8n-auth=YOUR_LONG_TOKEN" https://YourDomain.ru/rest/push?pushRef=test
If you cannot figure out the old encryption key:
mv ~/.n8n ~/.n8n.bak.$(date +%s)
docker compose up -d
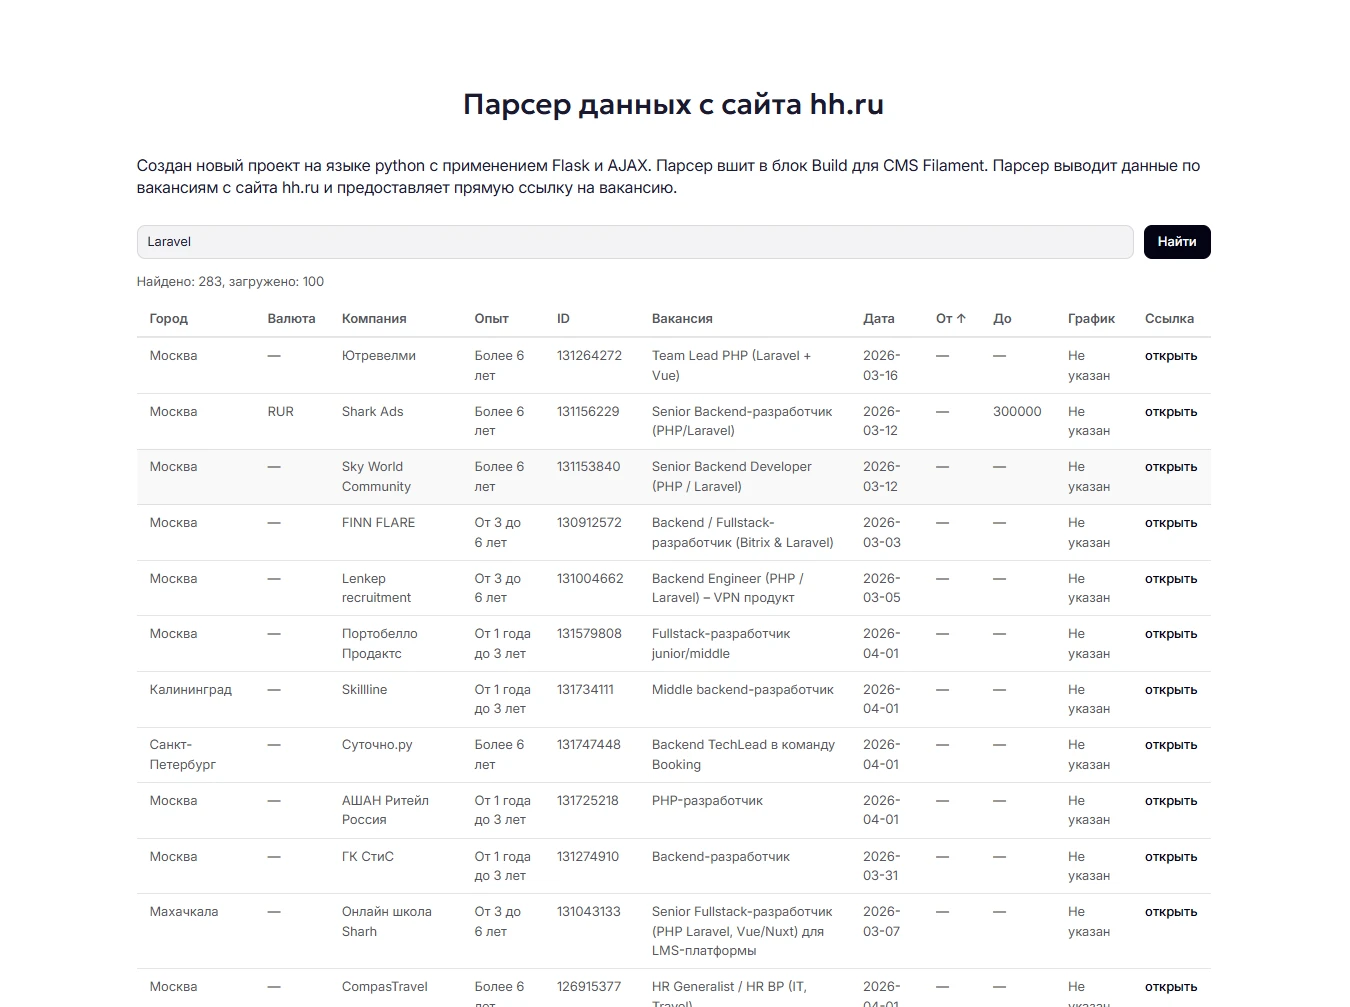
Other projects